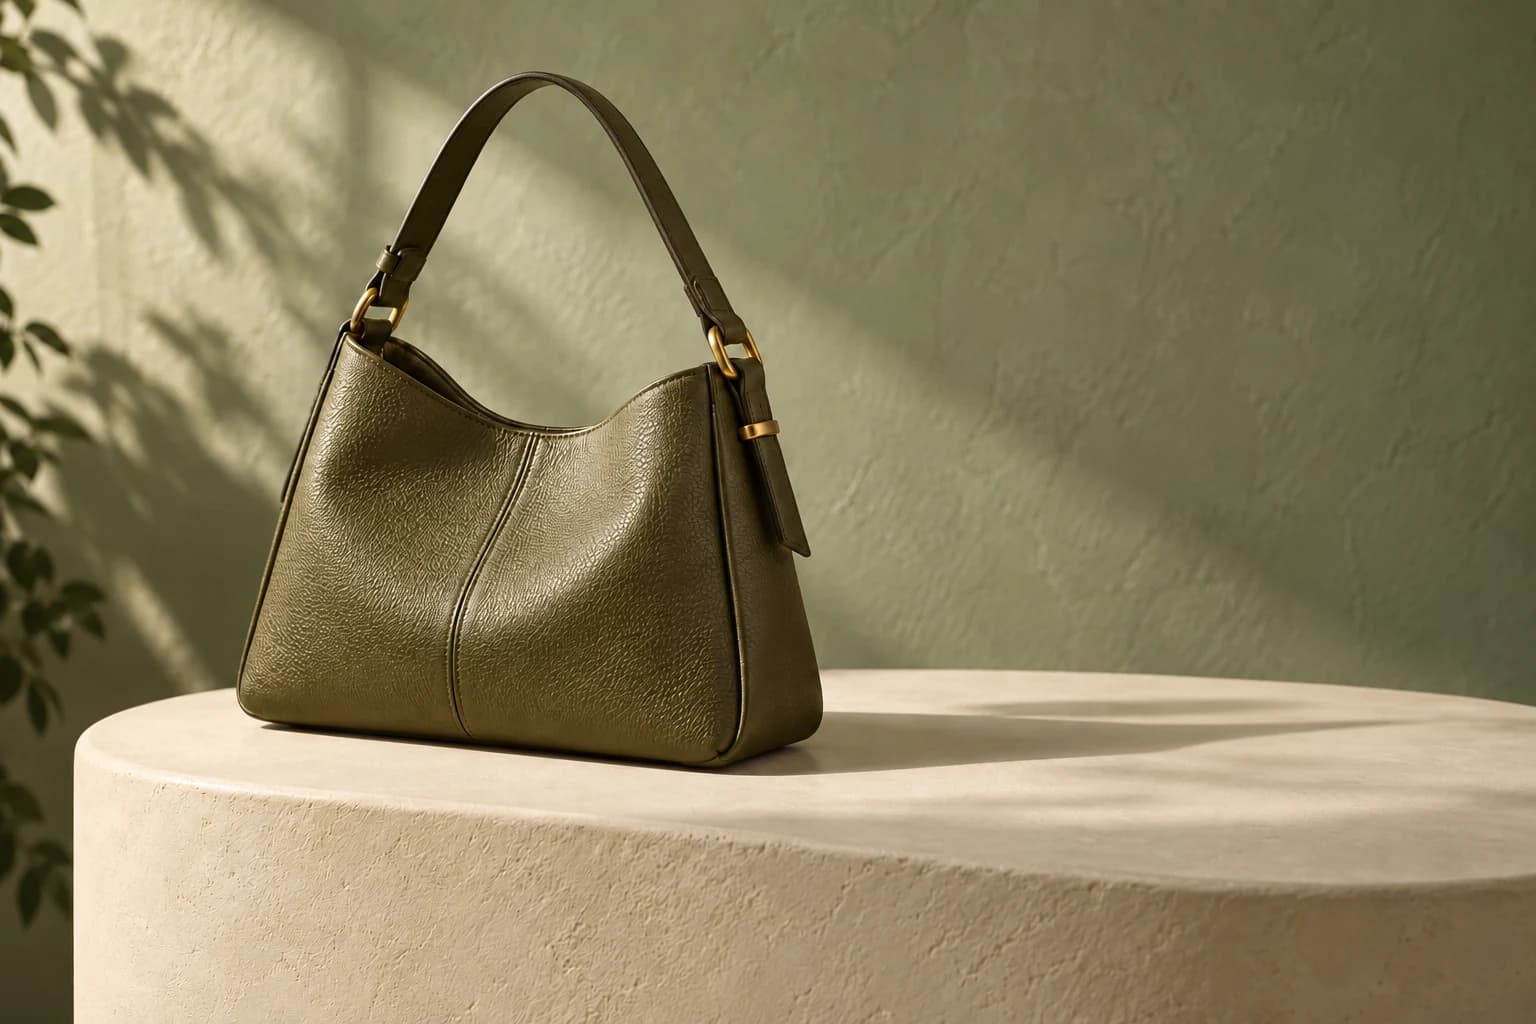
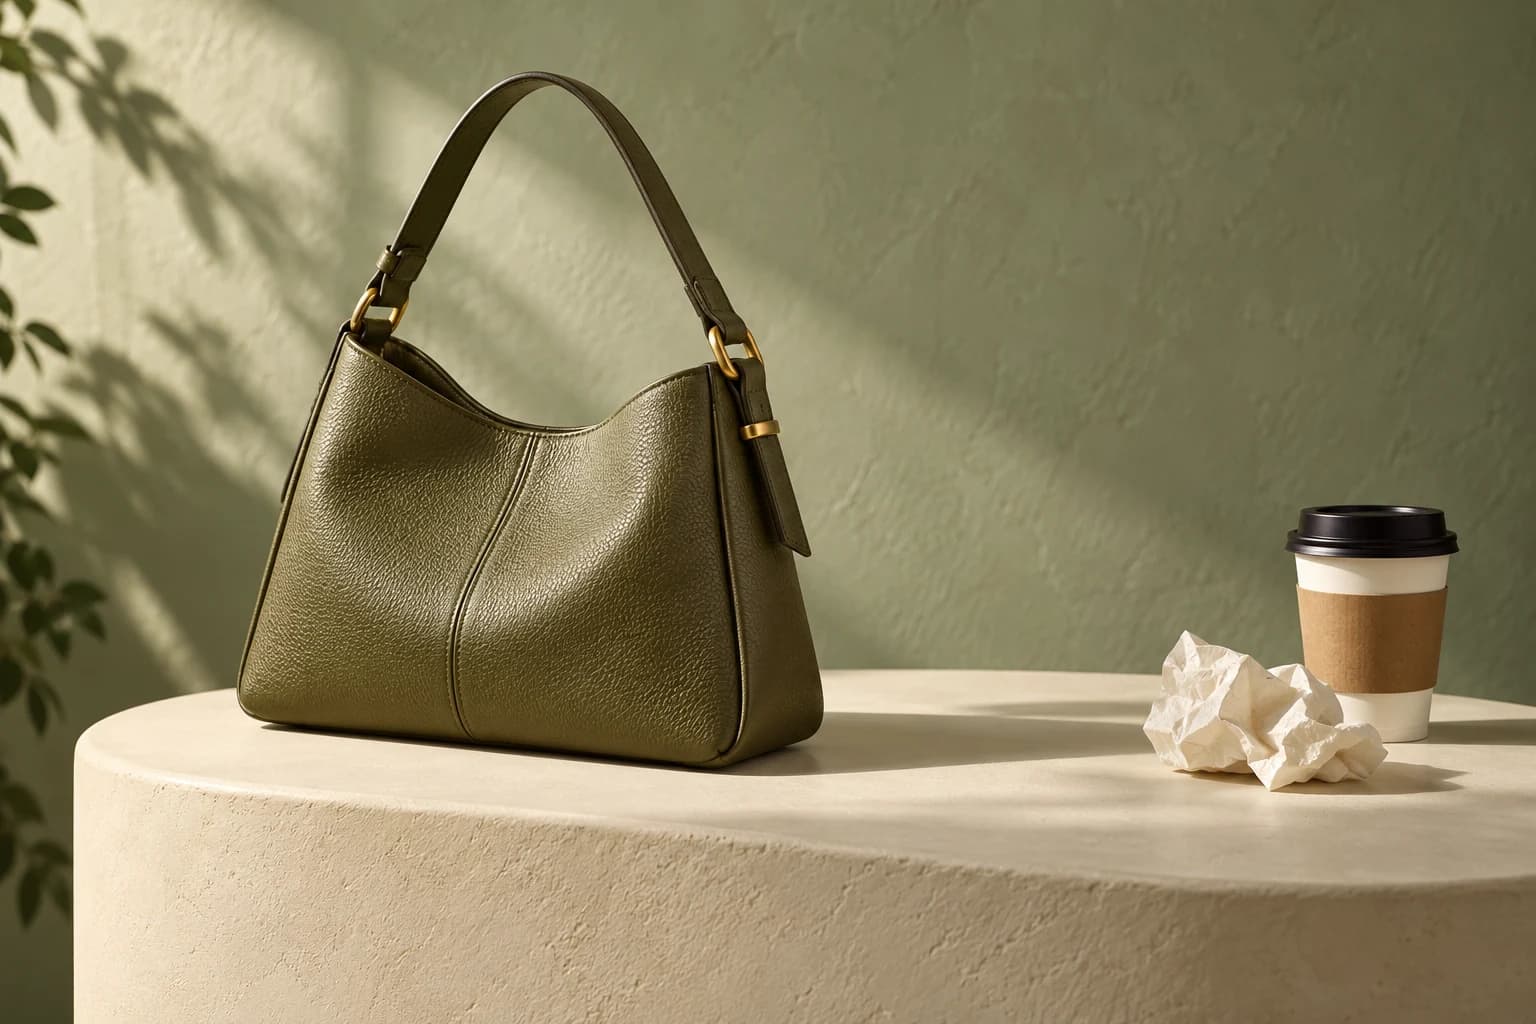
Remove clutter from product photos
Let the good stuff be the focus.
Paper cups, tissues and small clutter left in the shot can be brushed away. Keep the frame clean and the attention on the product.
AI object remover
Passersby, clutter, unwanted objects.
Brush lightly and bring the scene back to how you want it.
Or drag an image herePNG / JPG / WebP · Max 20 MB


AI object removal example
A little subtraction for a great photo
From a product photo to a lifestyle scene.
Remove clutter from product photos
Paper cups, tissues and small clutter left in the shot can be brushed away. Keep the frame clean and the attention on the product.
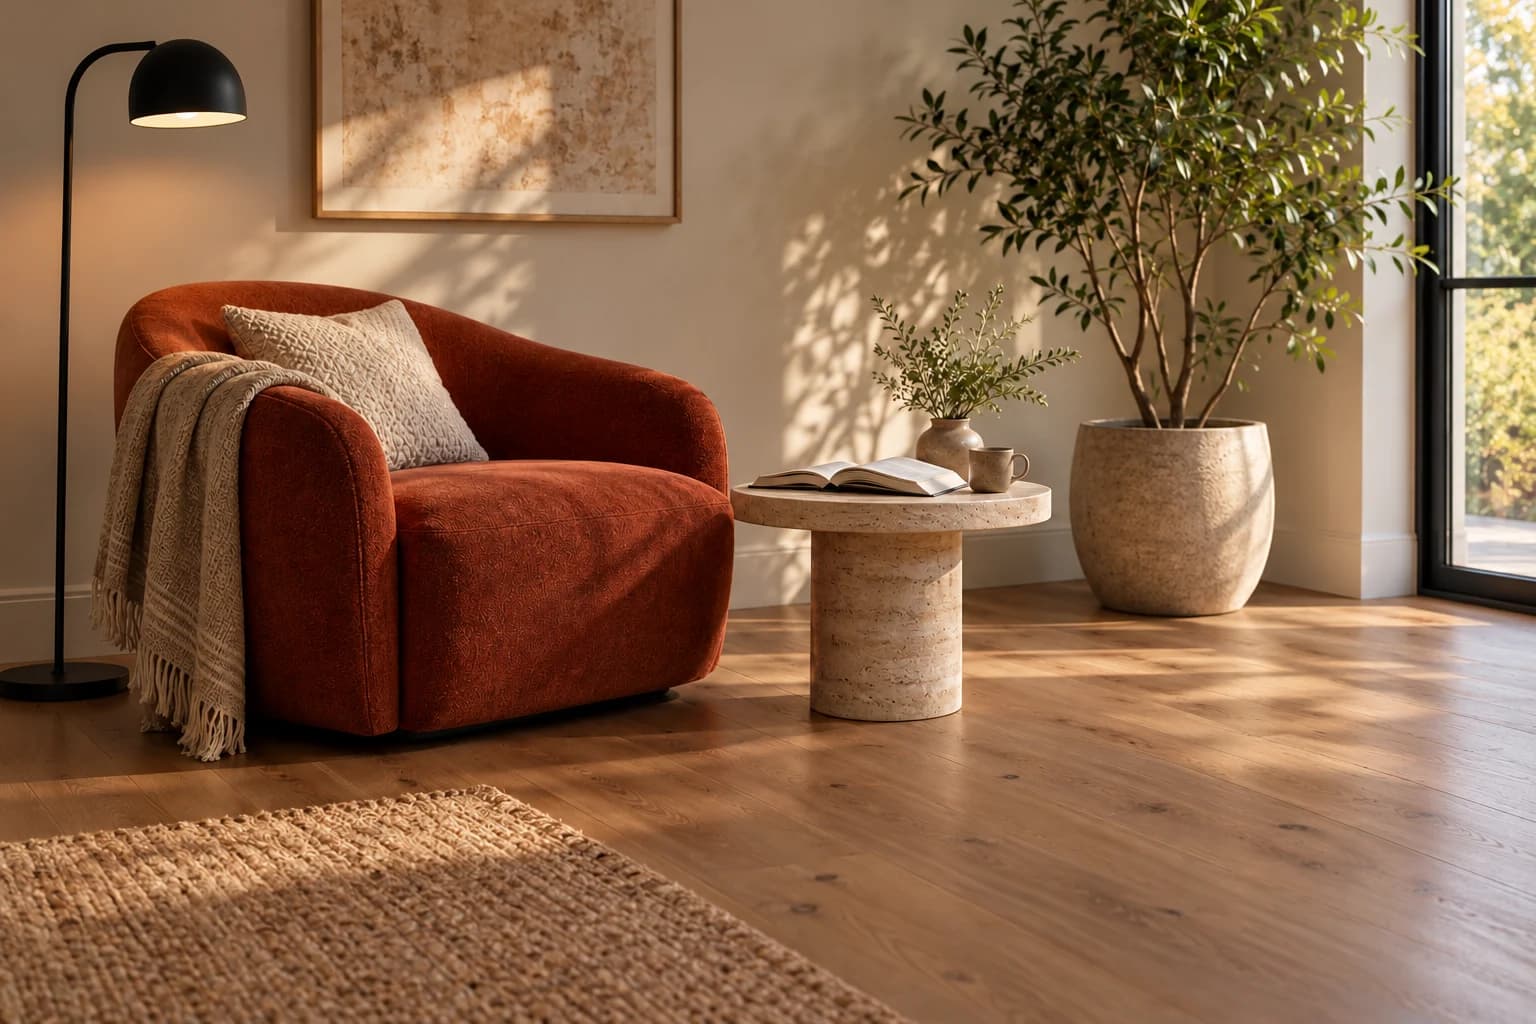
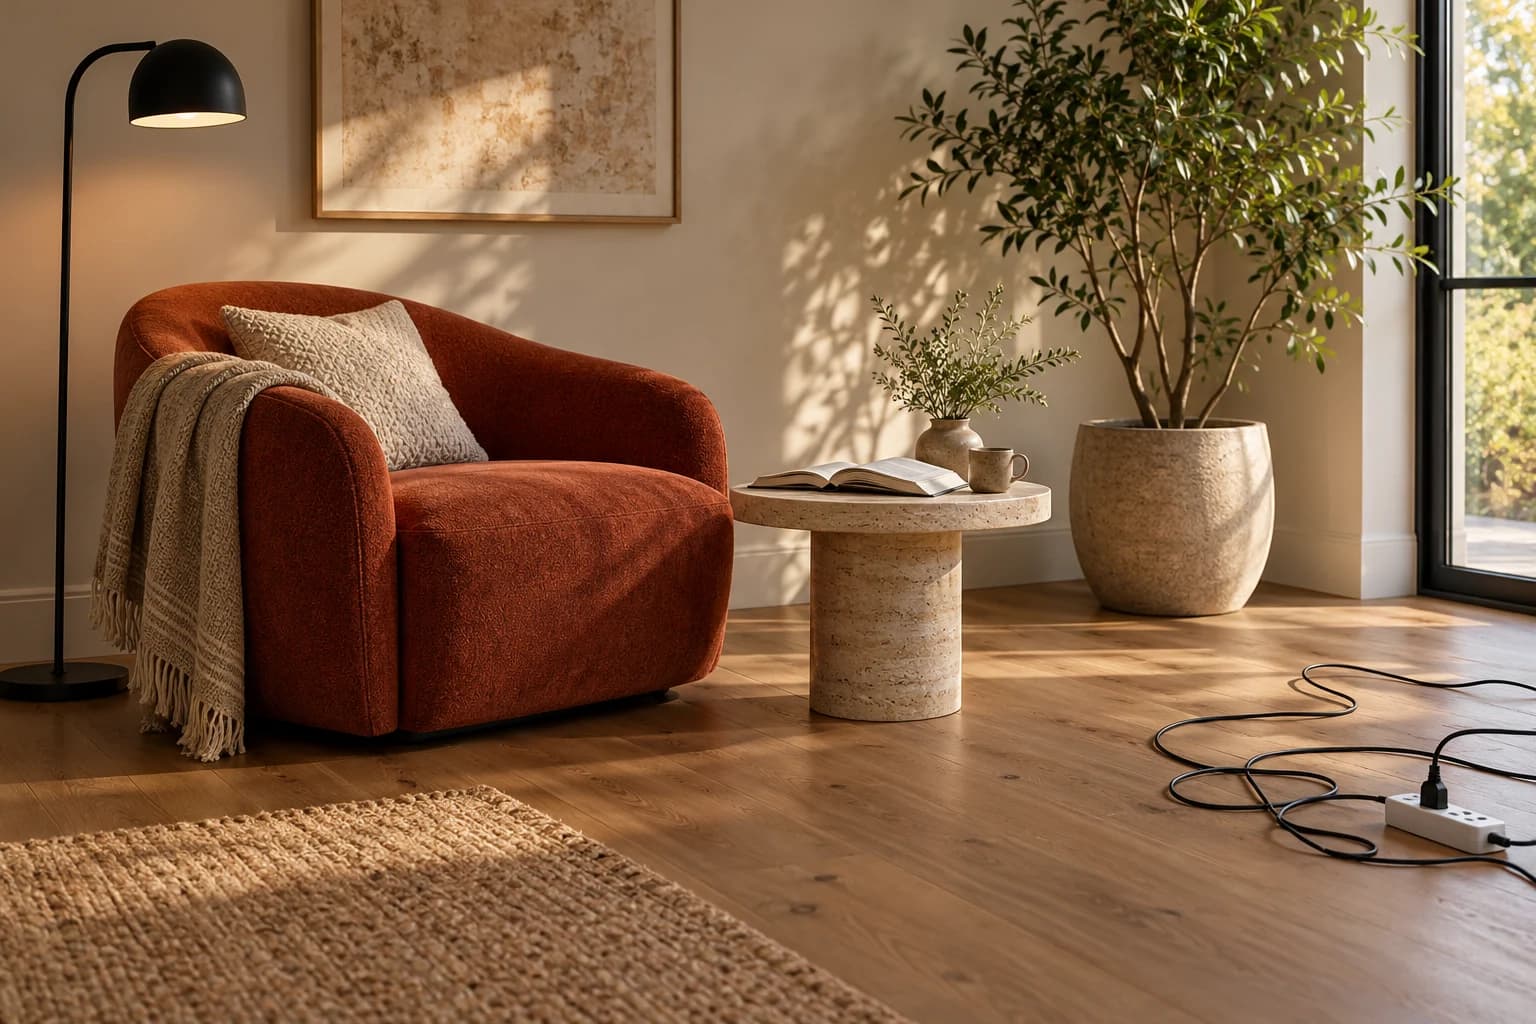
Clean up interior photos
Cords on the floor, clutter in the corner, no need to reshoot for them. Clean up the extra details and keep the space as it is.
The examples above are AI-generated. Actual results depend on your image and selection.
No complex editing skills needed
Travel photos, product shots, or interior photos all work. A clear original image gives the best results.
Adjust the brush to cover the object you want to remove. Include the shadow for a more natural blend.
Click Erase to see the result in the workspace. If you want changes, keep editing the result.
Great photos, no need to reshoot
Before you start, you may want to know
From the first brushstroke
to a photo you like even more.
Yes. New users get free credits on sign-up, and you can start right after uploading an image. Erasing uses account credits; browsing examples on this page is free.
Passersby, table clutter, cords and more. Upload, then brush over what you want gone and AI fills in the background from the surroundings. The more separated the subject is from the object, the easier it usually is.
Brush over the object together with its shadow, and avoid brushing the subject you want to keep. Handle multiple objects one at a time. Large occlusions or complex textures may need a retry with an adjusted selection.
PNG, JPG and WebP, up to 20 MB each. Upload from a computer or mobile browser, then brush over the parts to remove.
Object removal erases a specific object and fills in the background; background removal separates the subject from the background. To remove the entire background, use "Background Remover."
Yes. View and download the result in the workspace, keep brushing to erase more, or describe other changes in text.